")

What’s the Fastest Way to Dry Kitchen Cabinet Paint Without Streaks?
Coating your kitchen cabinets can infuse fresh vitality into your area, but anticipating the kitchen cabinet paint to solidify—without those bothersome streaks—can feel endless. Whether you’re a keen DIY lover or a resident anxious to refresh your cooking zone, you seek outcomes that appear expert and rapid. The positive news? With the suitable methods, instruments, and a dash of wisdom, you can hasten drying duration and attain a spotless look. This blog explores the swiftest ways to dry kitchen cabinet paint without blemishes, ensuring your task concludes seamlessly and quickly.
Why Drying Kitchen Cabinet Paint Properly Matters
Before we dive into the steps, let’s discuss why drying is essential. A hurried or untidy drying procedure can spoil your diligent efforts with streaks, smears, or patchy surfaces. Adequately dried kitchen cabinet paint not only shines elegantly but also endures longer—resisting nicks, scrapes, and damage in your active kitchen. Accelerating drying without compromising excellence is the aim, and we’ve got you supported with useful, reader-friendly suggestions.
Preparation: The Key to Streak-Free Kitchen Cabinet Paint
Clean and Prep Your Cabinets
The basis of a blemish-free appearance starts before you even lift the paint container. Dust, oil, or dirt on your cabinets can make paint gather or harden unevenly. Here’s how to prepare:
- Wipe surfaces with a degreaser like TSP (trisodium phosphate) and warm water.
- Sand gently with 220-grit sandpaper to even out flaws.
- Remove sanding dust with a tack cloth for a clean foundation.
A spotless surface ensures your kitchen cabinet paint sticks uniformly, paving the way for swift, streak-free drying.
Choose the Right Paint and Tools
Not all paints solidify at the same pace—or without marks. Select a premium, self-leveling option like alkyd enamel or a hybrid acrylic-urethane mix. These blends smooth out brush traces as they set, reducing blemishes. Pair your paint with:
- A synthetic-bristle brush for edges and fine points.
- A foam roller for broad areas—less roughness, fewer marks.
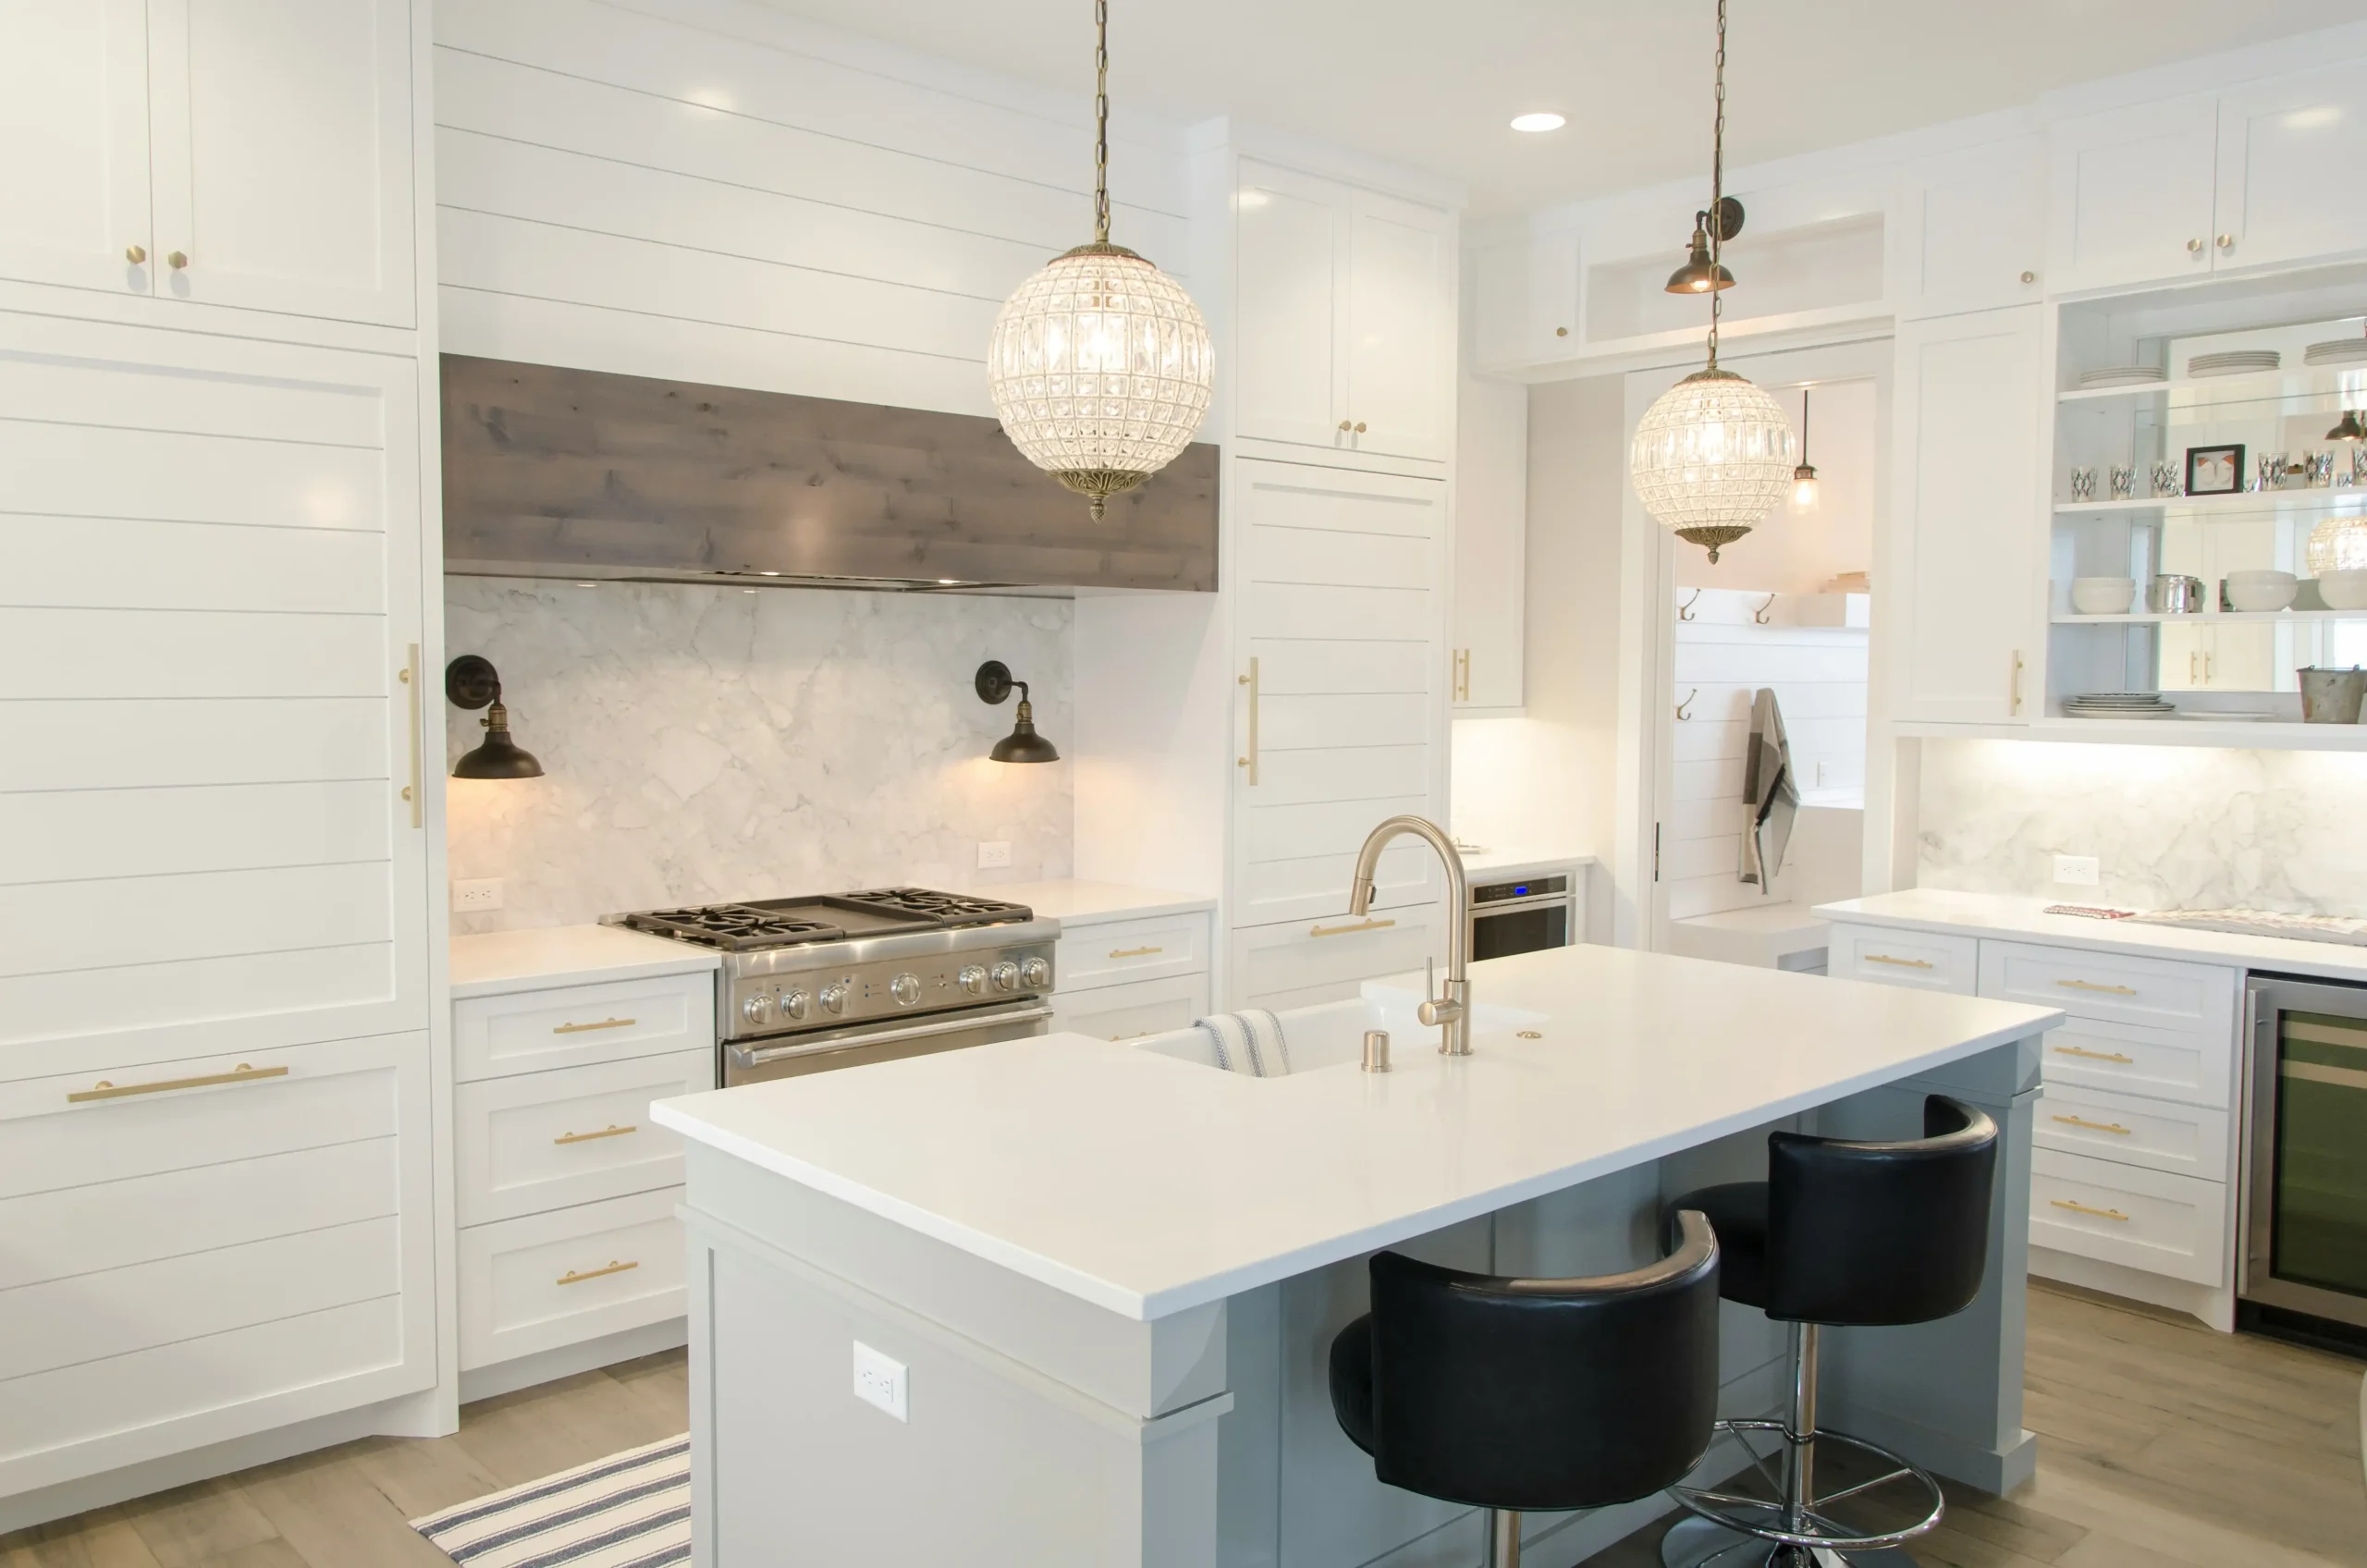
Avoid subpar tools; they shed bristles or leave imprints, slowing your advance. For ideas, see Refor Furniture’s shaker-style white cabinets—a superb base for a sleek paint finish.
Fastest Techniques to Dry Kitchen Cabinet Paint
Control Your Environment
Temperature, moisture, and air movement are your hidden allies for quickening drying. Here’s how to enhance them:
- Temperature:Aim for 70-75°F (21-24°C). Too chilly, and paint sets slowly; too warm, and it gets sticky, welcoming streaks.
- Humidity:Keep it below 50%. Excessive dampness delays drying and threatens uneven hardening. Use a dehumidifier if necessary.
- Airflow:Position fans to circulate air, but don’t direct them straight at the cabinets—soft breezes prevent dust from settling on wet paint.
A managed setting reduces drying time from hours to mere moments, keeping your kitchen cabinet paint impeccable.
Apply Thin, Even Coats
Heavy layers of kitchen cabinet paint take ages to solidify and often mark as they rest. Instead:
- Spread slim coats with a light touch—less proves better.
- Brush first, then roll right away to erase strokes.
- Wait 4-6 hours between coats (for latex) or 12-24 hours (for oil-based), based on the paint variety.
Slim coats harden faster and level out naturally, avoiding blemishes. For a striking example, view Refor Furniture’s walnut shaker cabinets.
Tools and Tricks to Speed Up Drying Kitchen Cabinet Paint
Use a Paint Sprayer
For supreme speed and smoothness, a paint sprayer is your trusted companion. It lays down a consistent, light layer of kitchen cabinet paint that sets quicker than brushed-on coats. Tips for success:
- Practice on scrap wood first—precision is vital.
- Keep the sprayer moving to dodge drips.
- Clean it thoroughly after use to prevent jams.
Sprayers cut drying time in half and banish brush marks, offering a factory-smooth result.
Add a Paint Accelerator
Paint accelerators (like Japan Drier for oil-based paints or water-based additives for latex) hasten curing without harming quality. How to apply them:
- Mix in small amounts per the manufacturer’s guidance—typically a few drops per quart.
- Test on a tiny spot first to confirm no streaking or tint shifts.
This technique trims hours off drying, ensuring your kitchen cabinet paint stays sleek and ready sooner.
Leverage Heat Safely
Mild warmth can speed drying, but overdo it, and you’ll face streaks or bubbles. Try these:
- Use a space heater on low, placed 6-8 feet from cabinets.
- Open windows on a sunny day for natural heat and air flow.
- Avoid hairdryers or heat guns—direct warmth warps paint and brings flaws.
Controlled heat boosts evaporation, securing a streak-free finish.
Post-Painting Tips for a Perfect Finish
Let It Cure Properly
Even with rapid drying, kitchen cabinet paint requires time to fully toughen—or “cure.” Rushing this risks streaks or dents:
- Latex paint: 7-14 days to cure completely.
- Oil-based paint: Up to 30 days.
- Keep doors off and avoid heavy use during this period.
Patience here ensures a lasting, streak-free outcome.
Touch Up Wisely
Noticed a streak after drying? Don’t worry. Sand the area lightly with 400-grit sandpaper, wipe it clean, and apply a slim touch-up coat. Roll it smooth, then let it dry with steady airflow. This fixes defects without delaying you.
Comparing Drying Methods for Kitchen Cabinet Paint
|
Method |
Drying Time |
Streak Risk |
Best For |
|
Thin Coats + Fans |
2-4 hours |
Low |
DIY Beginners |
|
Paint Sprayer |
1-3 hours |
Very Low |
Pro-Level Results |
|
Accelerator Additive |
2-3 hours |
Low |
Time-Pressed Projects |
|
Heat (Space Heater) |
2-4 hours |
Medium |
Warm, Dry Climates |
|
Choose based on your schedule and expertise—sprayers excel for speed and perfection. |
|
|
|
Inspiration from Refor Furniture’s Designs
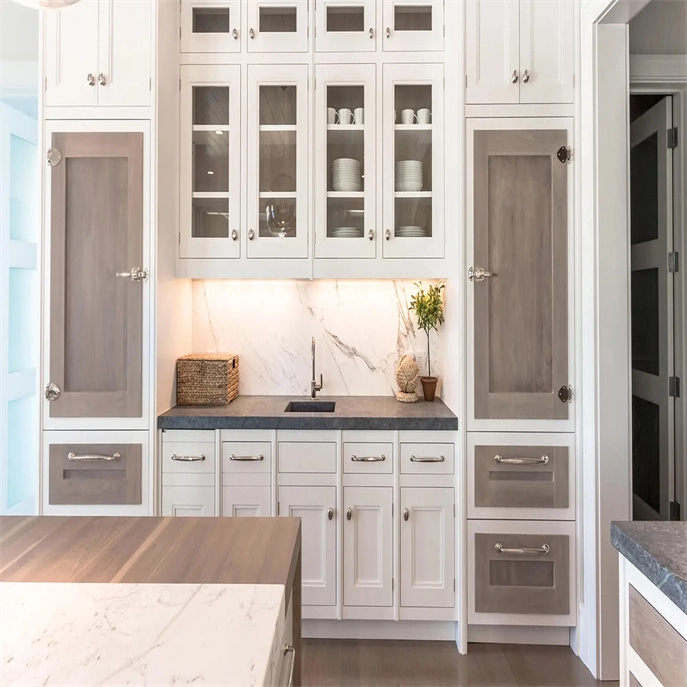
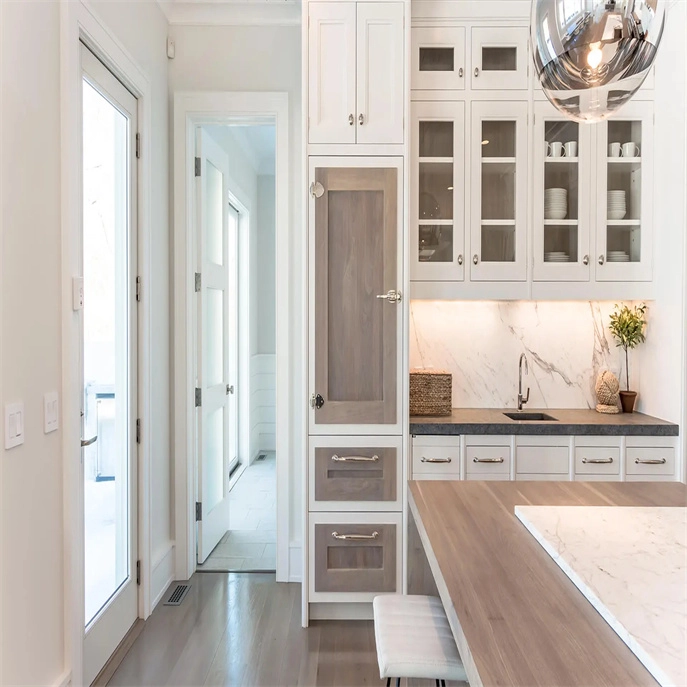
Need a vision for your painted cabinets? Refor Furniture’s driftwood and walnut island design demonstrates how kitchen cabinet paint can enhance natural wood hues. Their bespoke method ensures your cabinets are paint-ready and stunning.
Refor Furniture: Your Bespoke Kitchen Cabinet Supplier
Looking for cabinets worth painting? Refor Furniture, based in China, excels in custom kitchen cabinet paint ventures that elevate any residence. They focus on unique designs, providing everything from modern shaker styles to lavish walnut finishes. Their process guarantees accuracy—imagine handcrafted details and sturdy materials—ideal for your next paint task.
FAQs About Kitchen Cabinet Paint
How long does kitchen cabinet paint take to dry?
Drying time differs by type: latex sets in 4-6 hours per coat, while oil-based takes 12-24 hours. Full curing takes 7-30 days.
Can I speed up kitchen cabinet paint drying without streaks?
Yes, use slim coats, steady airflow with fans, or a paint accelerator. Avoid direct heat to prevent marks.
What’s the best paint for fast-drying kitchen cabinet paint?
Self-leveling paints like alkyd enamels or acrylic-urethane blends solidify quickly and reduce streaks due to their even application.
Does humidity affect kitchen cabinet paint drying?
Absolutely—high dampness (above 50%) slows drying and risks blemishes. Use a dehumidifier for optimal results.
Conclusion
Drying kitchen cabinet paint swiftly without streaks depends on preparation, skill, and the right instruments. From slim coats and sprayers to managed airflow and accelerators, you have options to match your timeline and ability. Refor Furniture’s bespoke cabinets offer the perfect foundation for your next project—check them out at Refor Furniture. Ready to revamp your kitchen with a flawless look? Grab your tools, follow these suggestions, and enjoy a gorgeous, streak-free result in record time!


